March 19, 2007
]]> 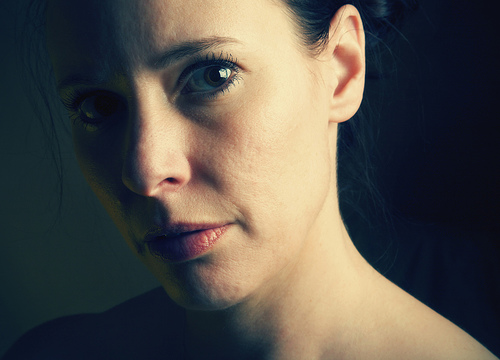
In seeking to create a cross-processed effect in Photoshop, it took a short trip to Google. The search resulted in a couple of tutorials on the subject. The easiest instruction set I found was located at PhotshopSupport.com. The tutorial there was easy to follow and included screen shots of the Photoshop steps. I created the image of Michelle in this post using their formula. Notice the yellow-green tint to the skin tone and the bright color of the lips. The effect can be a bit surreal.
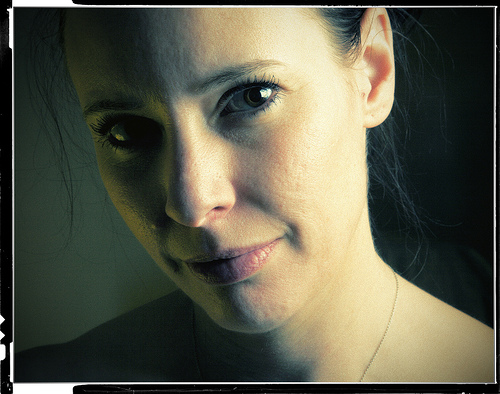
Here is another example of the process on a similar shot. On this photo, I added a film border as recommended in the tutorial to add to the effect.
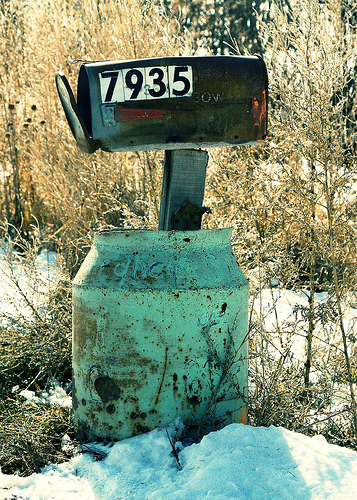
And finally, here is one more example applied to an image of an old mailbox.
If you have given Cross-Processing a try (either with film or digital), please share you results – I’d love to see them.
Cross Processing Info on the Web
On Wikipedia
PhotoshopSupport.com
The Wonders of Cross-Processing
Images 1 & 2: Canon 5D, Canon 24-105 f/4L IS lens – 1/125 second, f/22, ISO 50
Image 3: Canon 30D, Canon 24-105 f/4L IS lens – 1/320 second, f/9, ISO 100
Labels: photoshop, tutorial
March 19th, 2007 12:00 am | Comments Off on
Creating a Cross-Processed look in Photoshop
March 18, 2007
]]> 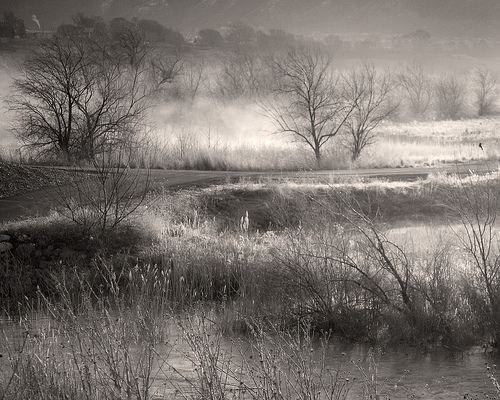
Canon 5D, Canon 24-105 f/4L IS lens – 1/200 second, f/4, ISO 50
March 18th, 2007 12:00 am | Comments Off on
Misty Valley
March 17, 2007
]]> 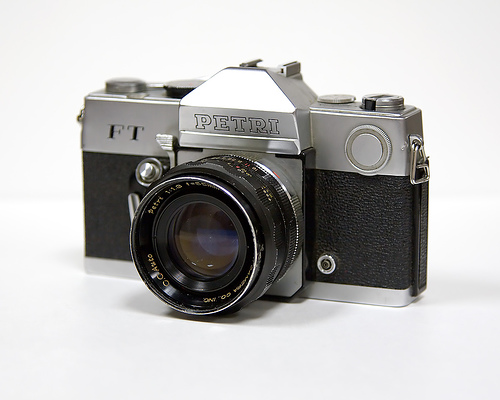
The first reason is very simple. I had this photo in my inventory and didn’t have a similar shot of a digital SLR. It was an easy capture to use until I could shoot a picture of a digital camera.
The second reason follows along the lines of yesterday’s nostalgic post. This particular camera is a PETRI FT. This is the same model as my very first SLR. I received it secondhand when I was in the eighth grade. I shot many rolls of film through it in the year I used it, before upgrading to a Pentax MX. This is not the actual camera, but one I picked up off of eBay for $10. It serves quite well in its roll of an office decoration.
I’ll be replacing the camera image up top with a shot of a digital SLR very soon, but for now – film it is.
Canon 30D, Canon 24-105 f/4L IS lens – 1/25 second, f/4, ISO 100
March 17th, 2007 12:00 am | Comments Off on
Why not a Digital Camera?
March 16, 2007
]]> 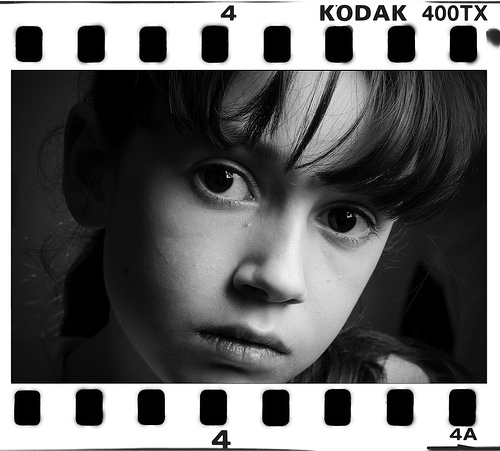
As my high school photographic career advanced onto the yearbook and newspaper staff, TRI-X went along for the ride. I routinely bumped the speed to ASA 1600 for the low-light ability it provided. The extra grain was tolerated as a way of getting the shot.
I left TRI-X behind after high school and graduated into shooting roll upon roll of Kodachrome 120 while working as a studio photographer. I didn’t shoot black & white again until a few years later in college, but by then I was more interested in quality and “tighter grain” so I opted for PLUS-X in my Mamiya 645.
Today’s capture was created in Photoshop to give the illusion of TRI-X film. The black & white image of Sarah was shot digitally. I then blended a scan of actual film grain onto the image and then placed it on the scanned TRI-X film negative.
This sure reminds me of my time spent in the darkroom 20+ years ago, but it’s just not quite the same.
Canon 5D, Canon 24-105 f/4L IS lens – 1/125 second, f/22, ISO 100
Labels: bw, photography
March 16th, 2007 12:00 am | Comments Off on
TRI-X Remembered
March 14, 2007
]]> 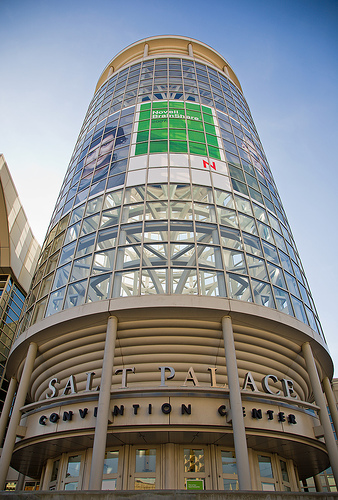
Canon 5D, Canon 24-105 f/4L lens – 1/80 second, f/6.3, ISO 50
LeggNet’s Digital Capture
© Rich Legg, Inc. All rights reserved.
March 14th, 2007 12:00 am | Comments Off on Salt Palace
March 13, 2007
]]> 
Try it out for yourself at imagemosaicgenerator.click42.com.
Labels: tutorial
March 13th, 2007 12:00 am | Comments Off on
Free Online Mosaic Generator
March 13, 2007
]]> 
In digital cameras there is a sensor in place where the film used to be in film cameras. The light passing through the camera’s lens projects the image onto this sensor which then captures it digitally and records the image to memory. These sensors vary in size in both the number of pixels they contain (megapixels) and their physical dimension. Most digital SLR (single lens reflex) cameras bear a strong physical resemblance to the 35mm SLR’s we shot in decades past. But a difference between many of these cameras is the size of their sensor.
Taking Canon’s DSLR line for example, several of their cameras have an APS-C sensor which is smaller than a frame of 35mm film. The 30D model (a camera I use) has this size of sensor. Since the sensor is smaller it only records a portion of the image the lens is projecting. This results in a “zoomed in” effect on the captured image. On cameras with this size sensor, a photographer has to take the focal length of their lens and multiply it by 1.6 to see what the equivalent focal length is. My new 5D body, on the other hand, has a sensor that is the same size as a 35mm frame of film and therefore the equivalent focal length of the lens remains the same.
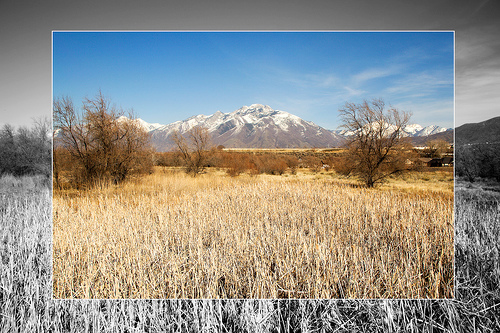
In the image above I took two pictures from the exact same location with a 30D and a 5D. I used the same lens (Canon 24-105 f/4L IS) on both photos at a focal length of 24mm. By overlaying 100% size images on top of each other you can see how much more of the scene is captured by the 5D’s full-frame sensor (the color 30D image is on top of the black & white 5D image).
Here is another example of the two images next to each other:
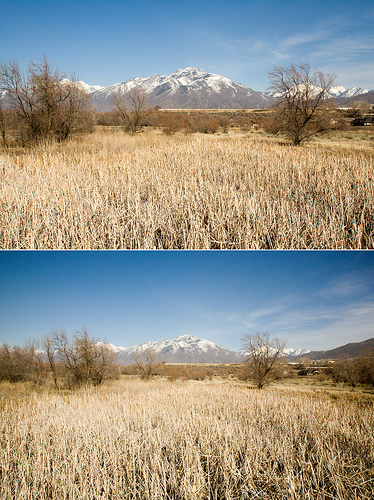
Top image taken with Canon 30D – Bottom image taken with Canon 5D
Notice how much more of the scene is captured with the 5D in the bottom image? The lens has a significantly greater wide-angle field of view. This is particularly helpful in landscape photography and architectural captures (not to mention my industry of real estate). The 1.6 crop factor sensor on the other hand can be a benefit when a photographer seeks added ‘reach’ for a lens. I recently used a 300mm lens with my 30D to photograph eagles and hawks in Farmington Utah. By putting this lens on the 1.6 crop camera, it became an equivalent of 480mm – a nice improvement.
In addition to the larger physical size of the sensor, the total amount of pixels is obviously different between the two. The 30D records an image of 3504 x 2336 pixels (8.2 megapixel) while the 5D records a 4368 x 2912 pixel (12.8 megapixel) image. This difference gives a noticeable quality boost to the 5D.
Both of these sensor types have their advantages and their applications. For the type of photography I shoot, I prefer the wide view and image quality of the 5D. The exception to this is when I need the added reach of the APS-C equipped 30D.
LeggNet’s Digital Capture
© Rich Legg, Inc. All rights reserved.
March 13th, 2007 12:00 am | Comments Off on Digital Camera Sensor Sizes Explained
March 12, 2007
]]> 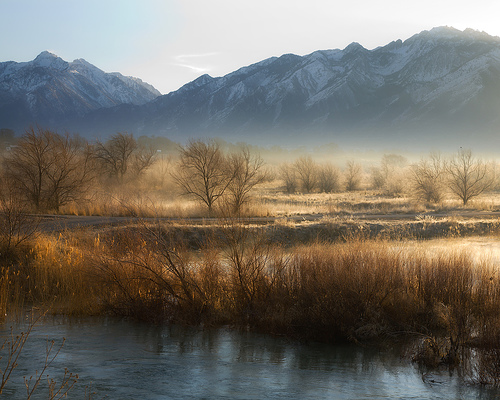
Canon 5D, Canon 24-105 f/4L lens – 1/50 second, f/8, ISO 50
March 12th, 2007 12:00 am | Comments Off on
River Bottom
March 12, 2007
]]> 
Try it out for yourself at imagemosaicgenerator.click42.com.
LeggNet’s Digital Capture
© Rich Legg, Inc. All rights reserved.
March 12th, 2007 12:00 am | Comments Off on Free Online Mosaic Generator
March 11, 2007
]]> 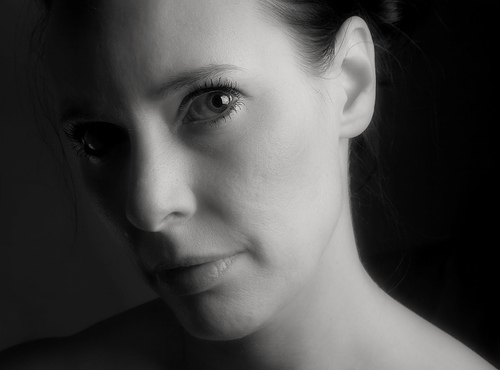
ORIGINAL IMAGE
Here is the original image after doing the RAW conversion from the camera file:
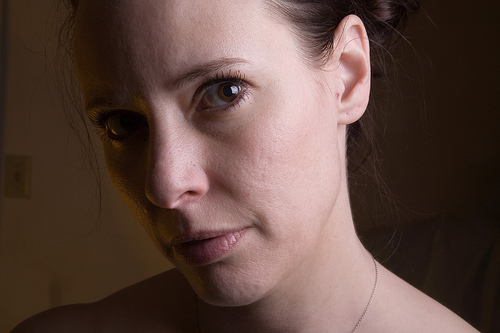
STEP ONE
I use the CLONE tool to remove her necklace, earring holes, skin blemishes and background distractions.
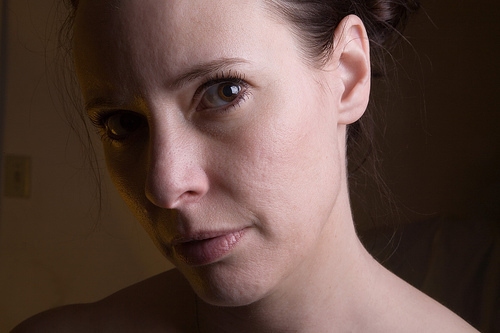
STEP TWO
I apply noise reduction, slight sharpening (via Unsharp Mask) and crop the image.
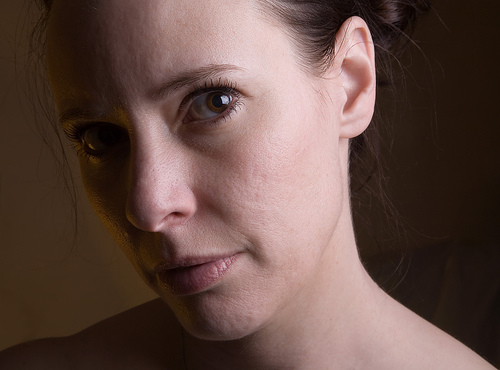
STEP THREE
I create a new layer from the background layer. I apply 48 pixels of GAUSSIAN BLUR to the newly created layer. I blend the new layer at 35% and mask the eyes to keep them sharp.
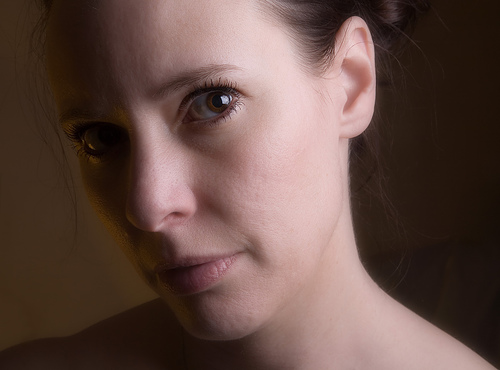
STEP FOUR
I create a CHANNEL MIXER layer and set to monochrome (70% red, 30% blue). Adjust brightness -5
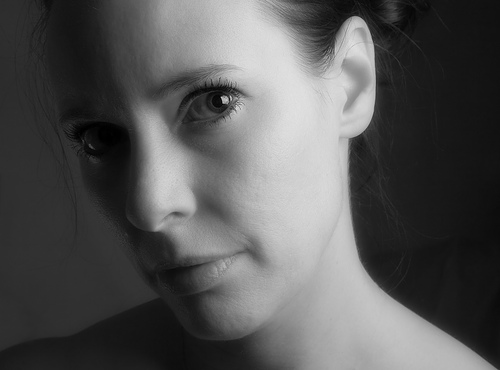
STEP FIVE
I merge my background layers, then create a duplicate of the background. I adjust brightness to -25 then mask out face (this darkens the background).
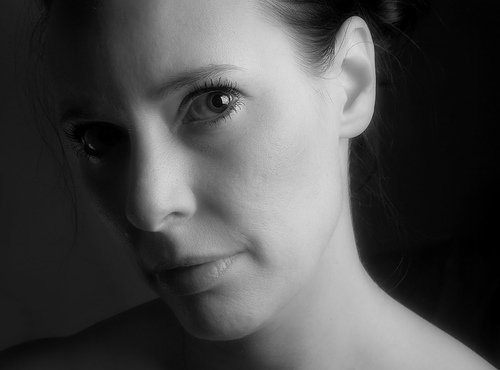
STEP SIX – COMPLETE
I merge the background layers then create a new copy of background. I apply 1.5 pixels of GAUSSIAN BLUR (smooth the skin more). I then mask out eyes to keep them sharp. Add photo filter (Sepia, 10%), Burn/dodge eye to make it more dramatic

As I said earlier, this is the process that works for me. I find as I continue to advance in post-processing that I am constantly finding new and improved techniques. If you’ve got some pointers, please don’t hesitate to share.
Canon 5D, Canon 24-105 f/4L – 1/125 second, f/22, ISO 100
LeggNet’s Digital Capture
© Rich Legg, Inc. All rights reserved.
March 11th, 2007 12:00 am | Comments Off on My Post Processing Technique
March 10, 2007
]]> 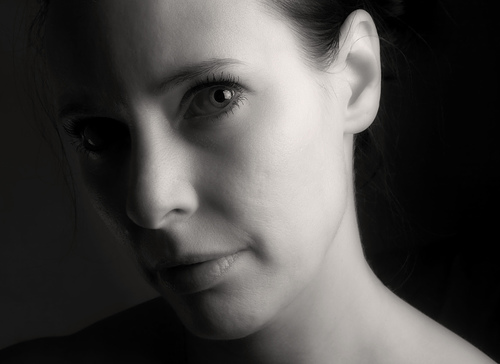
Here is the beautiful Mrs. Legg.
Canon 5D, Canon 24-105 f/4L – 1/125 second, f/22, ISO 100
p.s. Don’t forget that Daylight Savings Time starts three weeks earlier this year – that means we Spring Forward tonight. Don’t worry, you’ll get that lost hour back in November 
LeggNet’s Digital Capture
© Rich Legg, Inc. All rights reserved.
March 10th, 2007 12:00 am | Comments Off on Michelle
March 9, 2007
]]> 
Canon 30D, Canon 24-105 f/4L – 1/100 second, f/14, ISO 100
March 9th, 2007 12:00 am | Comments Off on
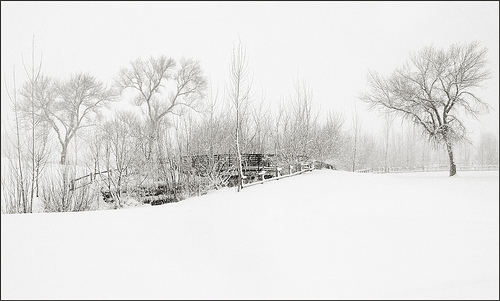
Bridge in Winter
March 8, 2007
]]> 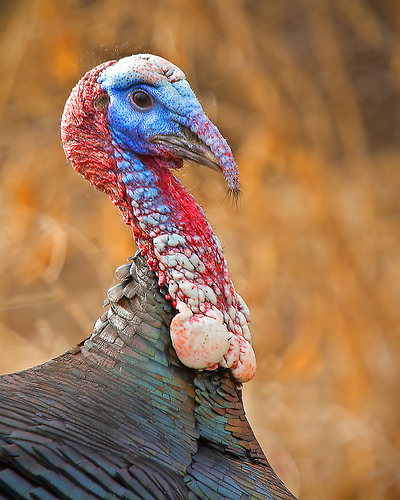
Canon 30D, Canon 70-200 f/4L with 1.4 extender – 1/200 second, f/5.6, ISO 100
March 8th, 2007 12:00 am | Comments Off on
Tastes Like Chicken?
March 6, 2007
]]> 
March 6th, 2007 12:00 am | Comments Off on
Buddy Dog
March 5, 2007
]]> 
I am generally not a huge fan of selective colorization, but in this case I like the result. There are several methods of doing this effect. The one I use most often is to convert the capture to monochrome using a [CHANNEL MIXER] layer in Photoshop. I then add a [VECTOR MASK] and paint out the area of the photograph that I want to remain in color. This is a quick and easy method that provides good results.
Here’s another example of this process applied to a different shot taken at the same time:

If you’ve done some colorized shots, please share them with me. I’d love to see them.
Canon 30D, Canon 50mm f/1.8 lens – 1/125 second, f/2.5, ISO 100
Canon 430EX strobe with Lightsphere attached
Labels: photoshop, tutorial
March 5th, 2007 12:00 am | Comments Off on
Pink Shoes and Photoshop
March 4, 2007
]]> 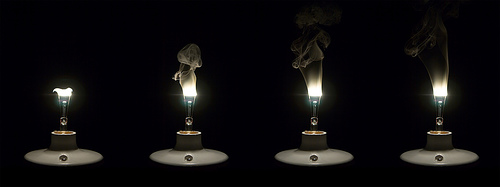
Canon 30D, Canon 24-105 f/4L lens – 1/640 second, f/4, ISO 100
March 4th, 2007 12:00 am | Comments Off on
Burning Out at 5 frames per second
March 3, 2007
]]> 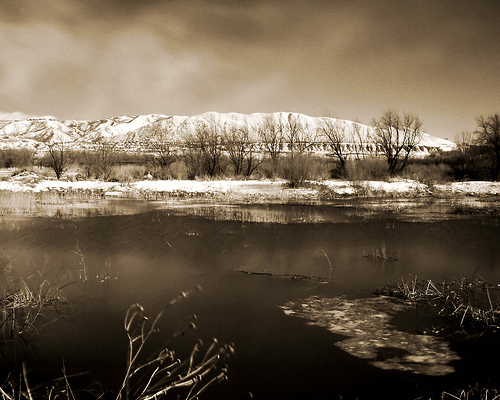
So far I haven’t been overly impressed with my results, but I really need to do some more trials. This particular shot was made with the filter on my lens. Even though it was a bright sunny day, due to the density of the filter this capture required a 30 second shutter speed.
Canon 30D, Canon 24-105 f/4L lens – 30 Seconds, f/22, ISO 100
March 3rd, 2007 12:00 am | Comments Off on
Relief from yesterday’s Clash
March 2, 2007
]]> 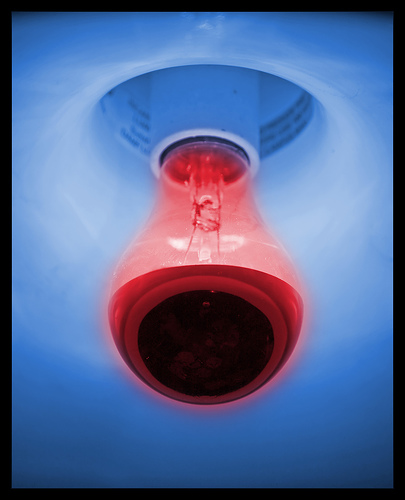
I came across this fairly plain image of a lightbulb taken on Valentines Day at the Texas Roadhouse restaurant. While the family watched American Idol, I tried different types of processing on the photo. The reflective globe of the bulb is what attracted me to make the shot, but ultimately I opted to downplay that part of the object. Instead, three hue/saturation layers later (along with vector masks) and this is the result.
Now, if the weather would only clear up so I can experiment on some black & white scenery captures with the IR filter I recently purchased.
Labels: photoshop
March 2nd, 2007 12:00 am | Comments Off on
Hot and Cold
March 1, 2007
]]> 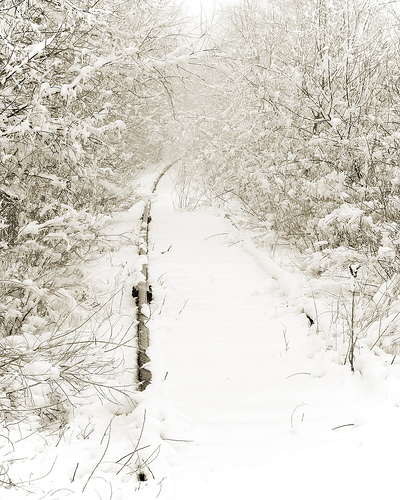
Canon 30D, Canon 24-105 f/4L lens – 1/80 second, f/14, ISO 100
March 1st, 2007 12:00 am | Comments Off on
Snowy Tracks
February 28, 2007
February 28th, 2007 12:00 am | Comments Off on
Game Over
February 28, 2007
]]> 
LeggNet’s Digital Capture
© Rich Legg, Inc. All rights reserved.
February 28th, 2007 12:00 am | Comments Off on Game Over
February 27, 2007
]]> 
“I like too much this BW portrait. Could you tell me how you post-processed it to give this smooth and bright look?”
Thanks for the question Charles. The process I use in smoothing and brightening the skin is a relatively simple process. I use Photoshop CS2 for my editing, so I will detail the steps I take in that program. I believe you could easily use a similar process in Gimp, Elements or Paint Shop Pro though I haven’t used these programs so I do not know for sure.
1. Select your your main layer and adjust the brightness upwards to approximately +35-45%. The image will appear washed out, but you will recover the detail in the following steps.
2. Create a copy of the main layer.
3. Select a blur option (I use Gaussian Blur) and apply it liberally to the new layer. On a large image, I use a blur radius of around 40-50 pixels.
4. On the now-blurred layer, select LAYER, LAYER STYLE, BLENDING OPTIONS (from the menu) and set the BLEND MODE. I use either MULTIPLY or OVERLAY. Now lower the OPACITY to somewhere in the 40-60% range (set it how you like the image best).
5. (Optional) Convert the image to black & white. I don’t do a simple de-saturate. Instead, I create a new CHANNEL MIXER layer and check the MONOCHROME box. I can then adjust the three channels (red, green & blue) to obtain the b&w tone I desire.
6. For a final touch, I create a MASK on the top layer (the one with the blur) and mask out areas that I wish to remain crisp such as the eyes.
While I don’t proclaim to be a Photoshop Guru (there are plenty of them around already), these are the steps I use in many of my black & white conversions. I find the soft tone and bright eyes create a pleasing result.
Today’s image of young Christian is a good example of this process.
Canon 30D, Canon 300 f/2.8L IS – 1/50 second, f/2.8, ISO 100
Labels: photoshop, tutorial
February 27th, 2007 12:00 am | Comments Off on
Creating soft skin tone in Photoshop
February 26, 2007
February 26th, 2007 12:00 am | Comments Off on
Three Amigos
February 25, 2007
]]> 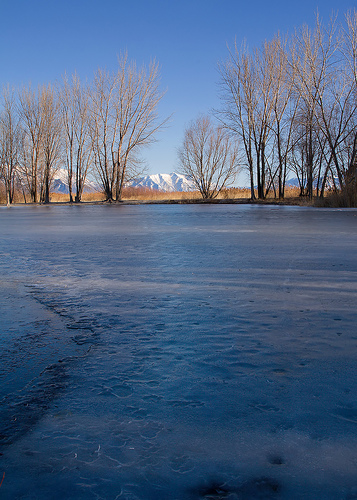
Canon 30D, Canon 24-105 f/4L lens – 1/40 second, f/16, ISO 100
Labels: winter
February 25th, 2007 12:00 am | Comments Off on
Blue Sky and Ice
February 24, 2007
]]> 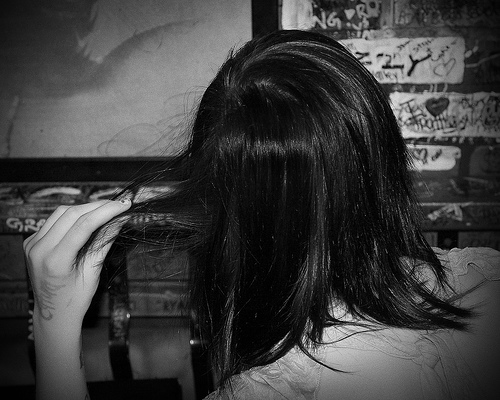
Labels: bw
February 24th, 2007 12:00 am | Comments Off on
Facing the Wall
February 24, 2007
]]> 
LeggNet’s Digital Capture
© Rich Legg, Inc. All rights reserved.
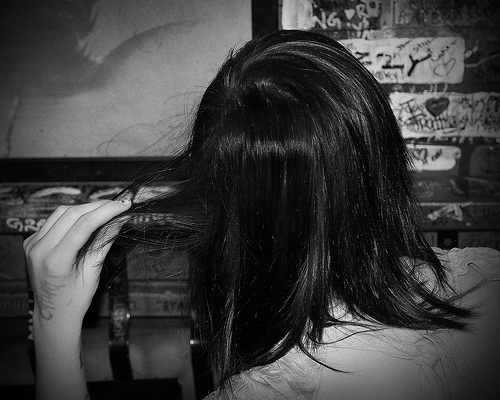
February 24th, 2007 12:00 am | Comments Off on Facing the Wall
February 22, 2007
]]> 
Lighting
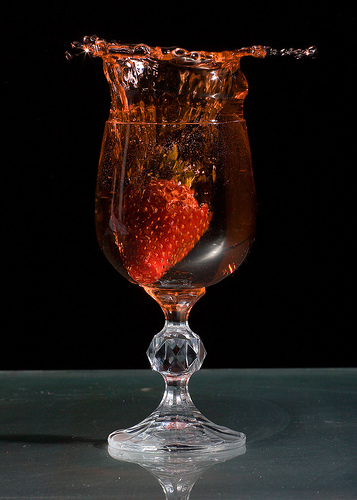
I use relatively inexpensive studio lights (I purchased a two light set from Adorama for under $300). These lights are fairly low power (guide # 100) but work well on close in shots. Each of the shots was made with one light placed at approximately 85 degrees from the camera. I fire the lights with a sync cable connected to my Canon 30D. If you are using a camera that doesn’t have a sync cable port (Canon Rebel for example), you can fire the lights using a hotshoe sync adapter. This relatively inexpensive piece fits on the camera hotshoe and has a place to plug your lighting into. You can also fire the lights via slave from your camera’s onboard flash, but this has a tendency to adversely affect your lighting.
On the lights I use either a barndoor or a snoot attachment. This eliminates the light from splashing on the background and the camera lens.
Metering
I use a handheld meter to get a true reading of the lighting output. This step can save quite a bit of time in post processing. If you don’t have a handheld meter, bracket a number of shots and then view them on your computer to determine the best exposure.
Camera
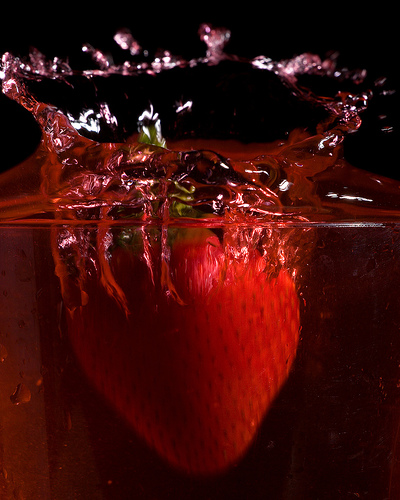
My primary camera is a Canon 30D SLR. The great part about using an SLR is the near-immediate shutter release when the button is pushed. Timing is critical in catching the splashes and having a fast acting camera is very nice. I have tried these shots with a point-n-shoot camera. It is a bit trickier to time the shots, but it can be done.
I have the camera on a tripod and use a remote cable release. I drop the strawberry with one hand and fire the camera with the other. When I have a helper (usually a daughter), I have her drop the object while I fire the camera.
I prefer to shoot these shots with a telephoto lens for two reasons. The first being that it creates a narrow depth-of-field and throws the background completely out of focus. Secondly, it keeps the camera clear of the “splash zone”.
Background
For a background in these shots, I am just using a black sheet. Like a said earlier, by using the barndoor attachment on the light, I am able to keep the flash off of the background thus making it underexposed and “true black”.
Props
I have used several different items in my splash shots. I have dropped cookies into milk, cream into coffee, and as we see here strawberries into strawberry lemonade. In this instance my strawberry lemonade is simply water with food coloring. I try to avoid sugary liquids due to the stickiness it causes on everything it hits (occasional camera/lens included).
Studio
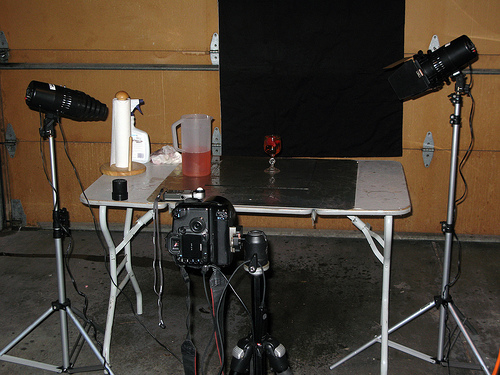
My studio is rather low-tech. This shot shows a typical splash-shot setup in my garage. I have long since lost the privilege of taking these shots in the house due to the mess it creates.
Post Processing
I use Photoshop CS2 (on a Mac) for my processing. These shots required very little work. I converted the image from RAW format using Adobe Camera Raw, then cropped and applied a small amount of sharpening.
Conclusion
As you can see, this is a relatively easy type of photography to do. The fun part is to just be creative. I had one comment questioning the usefulness of these shots. I really don’t have a use for them. I sell an occasional splash photo on iStockPhoto, but other then that I just consider it art.
Give it a try and see what you can create.
LeggNet’s Digital Capture
© Rich Legg, Inc. All rights reserved.
February 22nd, 2007 12:00 am | Comments Off on How to: High Speed Splash Photography
February 21, 2007
]]> 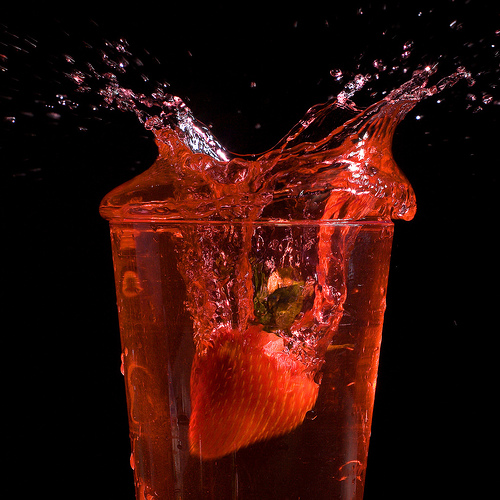
I made this capture of a strawberry splashing into a glass of red liquid (simulated strawberry lemonade) by placing a studio flash directly to the right and slightly above the glass of liquid. I fired the camera with one hand while dropping the strawberry with the other. The timing was a bit tricky at first, but after a few attempts it wasn’t too difficult.
Tips
– Fill the glass completely to the rim to cause the splash to swell over the top.
– Use barn-doors (or a similar barrier) to block the strobe from lighting the backdrop and/or the lens.
– Use a longer lens (medium telephoto) to get your camera out of the splash zone.
– Use a cable release or remote to fire the camera (while dropping the fruit).
– Use water with food coloring for the liquid (the sugar in real beverages can leave your camera gear a bit ‘sticky’ if it gets splashed).
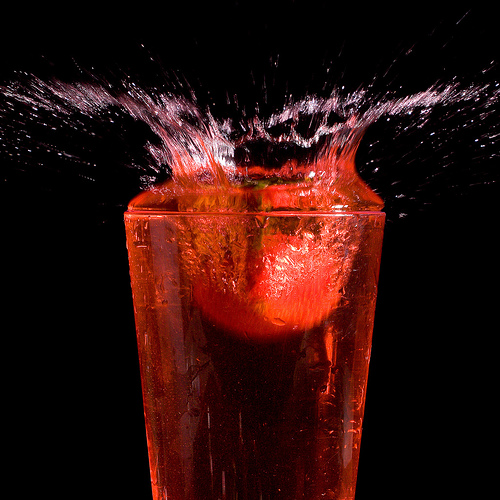
Shoot away and have fun!Equipment: Canon 30D, Canon 70-200 f/4L lens – 1/250 second, f/13, ISO 100
LeggNet’s Digital Capture
© Rich Legg, Inc. All rights reserved.
February 21st, 2007 12:00 am | Comments Off on Strawberry Splashdown
February 20, 2007
]]> 
LeggNet’s Digital Capture
© Rich Legg, Inc. All rights reserved.
February 20th, 2007 12:00 am | Comments Off on Stephanie in Black & White
February 19, 2007
]]> 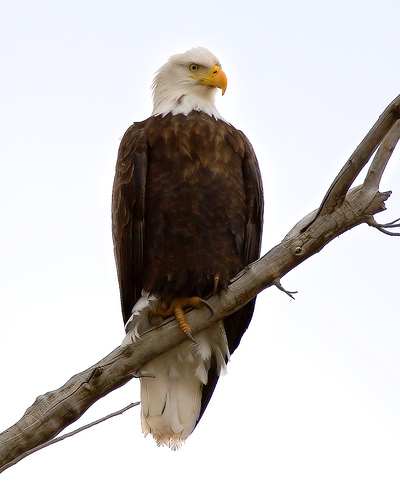
Enjoy your day off.
Canon 30D, Canon Canon 70-200 f/4L lens with 1.4 extender – 1/800 second, f/5.6, ISO 100
February 19th, 2007 12:00 am | Comments Off on
Presidents Day
February 18, 2007
]]> 
Special thanks to the fine folks over at New West Network. They selected this shot to use recently on their home page:
February 18th, 2007 12:00 am | Comments Off on
Childhood Joy
February 17, 2007
]]> 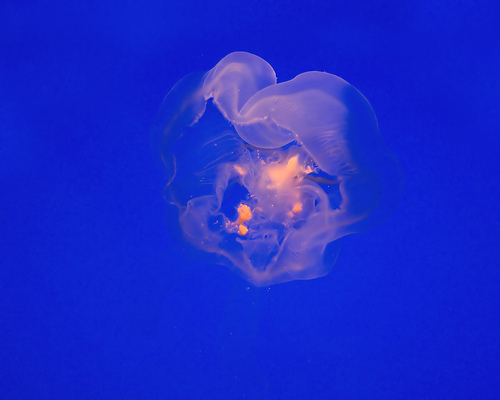
Canon 30D, Canon 50mm f/1.8 lens – 1/40 second, f/1.8, ISO 400
February 17th, 2007 12:00 am | Comments Off on
Jellyfish
February 16, 2007
]]> 
Canon 30D, Canon 24-105 f/4L IS lens – 1/50 second, f/13, ISO 100
February 16th, 2007 12:00 am | Comments Off on
Reflections
February 15, 2007
]]> 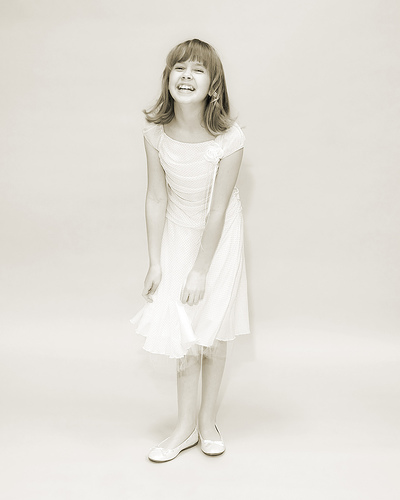
I processed the shot in black & white with a bit of colorization applied in Photoshop (the subtle gold tone in her hair). Her outfit and the seamless background work well with a somewhat high key presentation.
Canon 30D, Canon 24-105 f/4L IS lens – 1/30 second, f/4, ISO 100
February 15th, 2007 12:00 am | Comments Off on
Testing the Lights
February 14, 2007
]]> 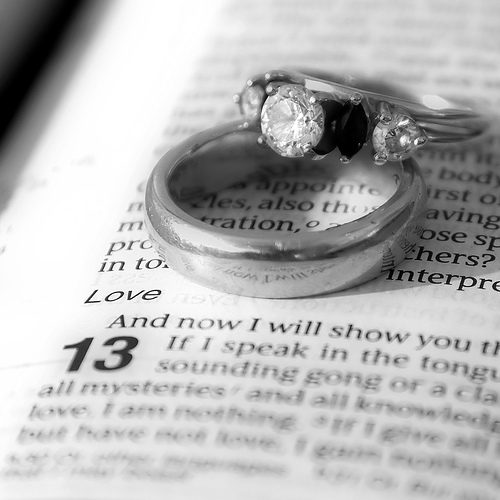
Canon 30D, Canon 24-105 f/4L IS lens – 3.2 seconds, f/5.6, ISO 100
February 14th, 2007 12:00 am | Comments Off on
But the greatest of these is Love
February 13, 2007
]]> 
My family enjoyed the privilege of having this young man spend the evening with us last night while his mom and dad were out. He’s quite the charmer, so I grabbed the Canon and snapped a few shots. I made this capture from across the room with a rather long lens while he was playing with my daughter.
Canon 30D, Canon 300 f/2.8L IS lens – 1/50 second, f/2.8, ISO 100
February 13th, 2007 12:00 am | Comments Off on
Enough with the Birds, Smoke and Lightbulbs
February 12, 2007
]]> 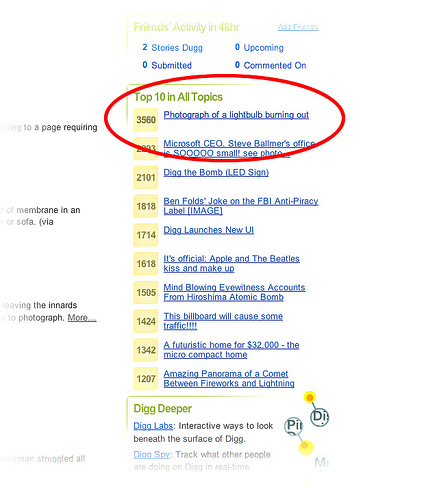
Prior to February 5th, this website averaged around 300 – 400 visitors a day. While this is not a huge number, it had been gradually growing over the 14 month period of the site’s existence. Then the story hit on digg and here is what happened:
Monday February 5 – 126,742
Tuesday February 6 – 25,258
Wednesday February 7 – 12,199
Thursday February 8 – 6,211
Friday February 9 – 4,310
Saturday February 10 – 4,216
Sunday February 11 – 3,776
That’s 183,716 page loads from 158,312 unique visitors in the past week. If I remove my previous average of 300-400 per day, that is over 180,000 hits generated as a result of the digg story. Wow!
One thing I didn’t expect with the notoriety on digg was the amount of traffic from other websites that this would create. While digg generated most of the hits the first day or two, other sites began referring hits to me. Here is a breakdown of where the most of the traffic came from over the past seven days:
digg.com – 63.86%
reddit.com – 10.06%
direct – 5.40%
stumbleupon.com – 4.30%
monitor.hr – 2.25%
bluesnews.com – 1.38%
clicked.msnbc.msn.com – 1.35%
A frequent outcome of websites being dugg is that the server is unable to handle the huge increase in traffic. In my case, this traffic was approximately 10,000 hits per hour in the first 12 hours of being on the front page of digg. LeggNet.com handled the traffic extremely well with the only hiccup being a slight slowdown on Monday afternoon that required a reboot. Thankfully, I have unlimited bandwidth on my hosting account.
My hope from this experience is that some of the visitors that have found my site in the past week will continue visiting. The increase in comments and email has been great. Thank you.
-Rich
p.s. If you’d like to monitor LeggNet.com via RSS, please add /rss/leggnet.xml to your reader.
February 12th, 2007 12:00 am | Comments Off on
The Digg Effect and Me
February 11, 2007
]]> 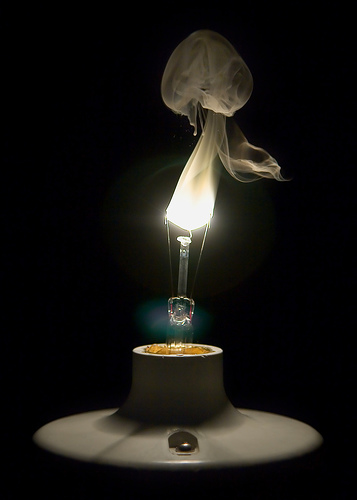
To photograph this, I fired 8-10 shot bursts with my camera at 5 frames per second to increase my odds of capturing an interesting photo. I manually calculated the exposure after taking a few test shots. The only post processing I have done to this image is cropping, noise reduction and contrast adjustment (all in Photoshop CS2).
Links:
Previous LeggNet.com Post
Story on Digg.com
My Smoke Shots on Flickr
Canon 30D, Canon 24-105 f/4L IS lens – 1/640 second, f/4, ISO 100
Labels: smoke
February 11th, 2007 12:00 am | Comments Off on
Ghostly Glow
February 10, 2007
]]> 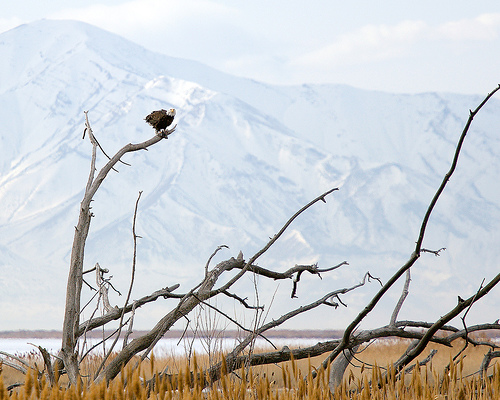
Canon 30D, Canon 70-200 f/4L lens with 1.4 extender – 1/800 second, f/5.6, ISO 100
Labels: birds
February 10th, 2007 12:00 am | Comments Off on
Lone Eagle
February 9, 2007
]]> 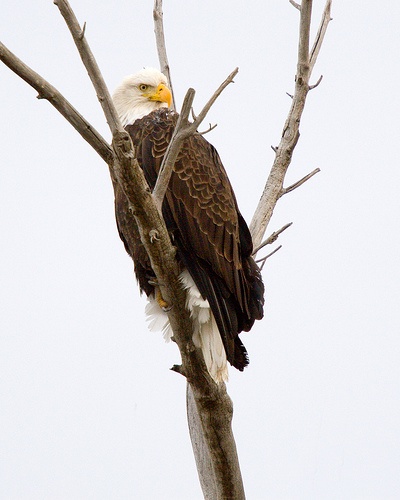
Canon 30D, Canon 70-200 f/4L lens with 1.4 extender – 1/640 second, f/5.6, ISO 100
Labels: birds
February 9th, 2007 12:00 am | Comments Off on
Perched
February 8, 2007
]]> 
LeggNet’s Digital Capture
© Rich Legg, Inc. All rights reserved.
February 8th, 2007 12:00 am | Comments Off on American Graffiti
February 7, 2007
]]> 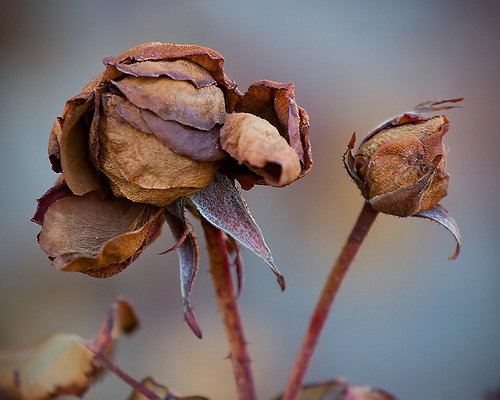
Canon 30D, Canon 70-200 f/4L lens with 1.4 extender – 1/200 second, f/5.6, ISO 400
LeggNet’s Digital Capture
© Rich Legg, Inc. All rights reserved.
February 7th, 2007 12:00 am | Comments Off on Wintertime Roses
February 6, 2007
]]> 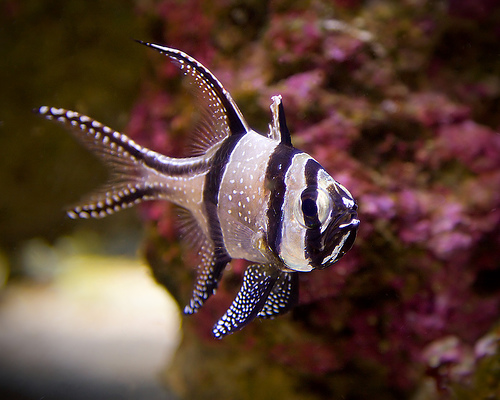
Canon 30D, Canon 24-105 f/4L IS lens – 1/30 second, f/4, ISO 400
LeggNet’s Digital Capture
© Rich Legg, Inc. All rights reserved.
February 6th, 2007 12:00 am | Comments Off on Banggai Cardinalfish
February 5, 2007
]]>
Here’s one more I did inverting the shot:
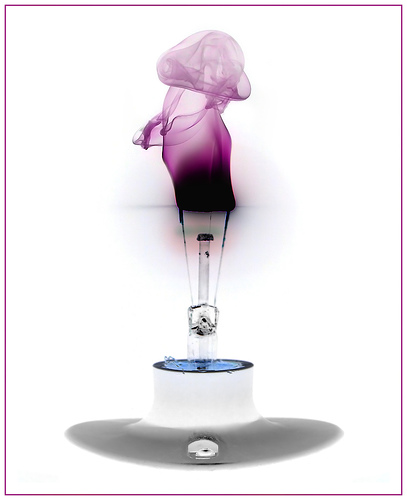
UPDATE: For those requesting (here and on Digg), here is the top shot with minimal adjustment (contrast, crop and noise reduction):
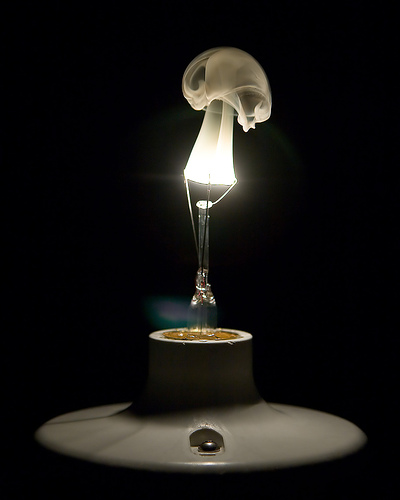
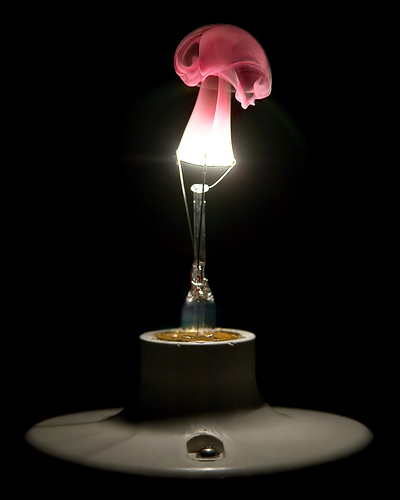
(Canon 30D, Canon 24-105 f/4L IS lens – 1/640 second, f/4, ISO 100)
LeggNet’s Digital Capture
© Rich Legg, Inc. All rights reserved.
February 5th, 2007 12:00 am | Comments Off on Spontaneous Combustion
February 3, 2007
]]> 
For more information on the FBWMA, click here.
Canon 30D, Canon 70-200 f/4L lens with 1.4 extender – 1/800 second, f/5.6, ISO 100
LeggNet’s Digital Capture
© Rich Legg, Inc. All rights reserved.
February 3rd, 2007 12:00 am | Comments Off on Northern Harriers
February 2, 2007
]]> 
From Wikipedia:
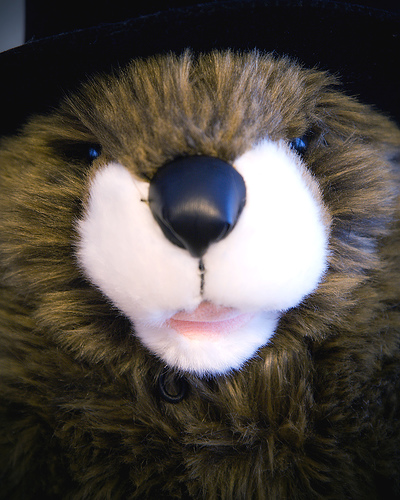
“Groundhog Day is a traditional festival celebrated in the United States and Canada on February 2. It is a cross-quarter day, midway between the Winter Solstice and the Vernal Equinox.
In traditional weather lore, if a groundhog emerges from its burrow on this day and fails to see its shadow because the weather is cloudy, winter will soon end. If the groundhog sees its shadow because the weather is bright and clear, it will be frightened and run back into its hole, and the winter will continue for six more weeks.”
LeggNet’s Digital Capture
© Rich Legg, Inc. All rights reserved.
February 2nd, 2007 12:00 am | Comments Off on Groundhog Day
February 1, 2007
]]> 
Labels: flowers
February 1st, 2007 12:00 am | Comments Off on
Fleeting Beauty
January 31, 2007
January 31st, 2007 12:00 am | Comments Off on
Jazz Fan
January 31, 2007
]]> 
LeggNet’s Digital Capture
© Rich Legg, Inc. All rights reserved.
January 31st, 2007 12:00 am | Comments Off on Jazz Fan
January 30, 2007
]]> 
LeggNet’s Digital Capture
© Rich Legg, Inc. All rights reserved.
January 30th, 2007 12:00 am | Comments Off on Clowning Around
January 29, 2007
My previous post (available here) detailed some of my process for taking photographs of smoke. Today I thought I’d give a few more examples.
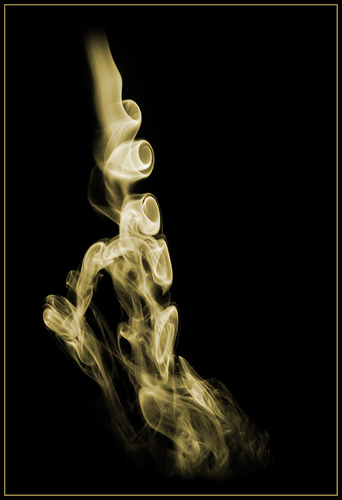
This shot titled Smokin’ Sax has been rotated just past 180 degrees. When I saw the lined up spirals of smoke I immediately thought of a saxophone and attempted to line up the smoke to appear as one. As I said earlier, the color is added in processing, so I chose a gold color to further enhance the similarity to a sax.
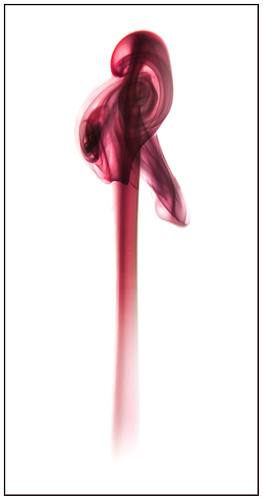
On this one, I held a cup over the smoke stream for about 10 seconds then quickly removed the cup and took the picture. This created the curls at the top. In processing I then inverted the image to create the white background and added the rose color.
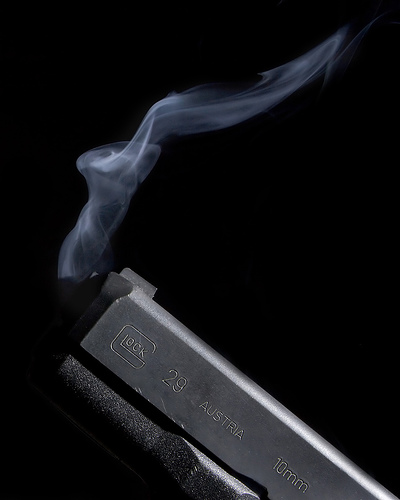
This picture of a smoking gun barrel was created by holding an unloaded (and magazine removed) Glock handgun over the incense stick and letting the smoke drift upward. The smoke worked its way through the gun and out of the barrel. I chose to leave the smoke its natural color of grayish white.
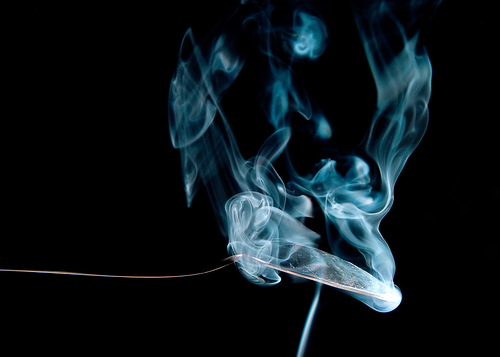
On this one, I allowed the smoke stream to calm down to just a single column and then gently placed a spoon over it. The smoke then accumulated under the spoon briefly before coming out around the edges.

Similar to the above shot, I placed the fork into the stream and allowed the utensil to disrupt the smokes flow. This one was also inverted to create the white background.
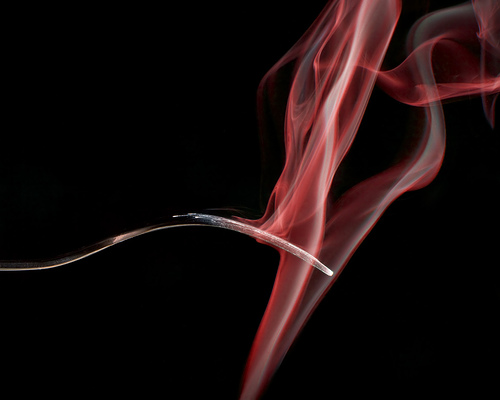
Here’s the same shot as above, but without the invert.
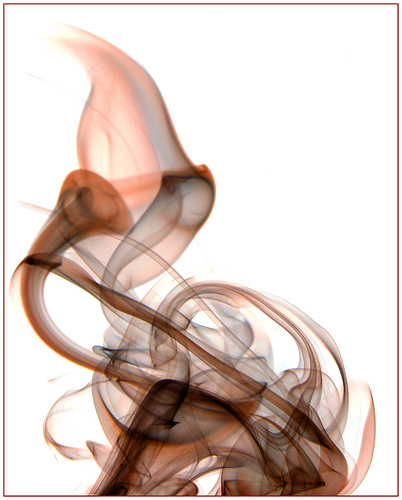
And lastly, this shot was rotated 90 degrees clockwise to enhance the presentation. With the invert and the rotation, I felt it looked like silk blowing in the wind.
There you have it, my first few attempts at smoke shots. I used simple incense sticks that I purchased for under $5.00. For a background I used a black sheet and then placed my light source (a Canon 430EX strobe) at about an 80 degree angle. Feel free to comment with any questions or comments.
LeggNet’s Digital Capture
© Rich Legg, Inc. All rights reserved.
January 29th, 2007 12:00 am | Comments Off on Smokin’ Photography
January 27, 2007
]]> 
The first hurdle I had to overcome was finding incense sticks in Sandy Utah. After visiting several businesses suggested by my wife Michelle, I found some on clearance at Pier 1 Imports. Incense in hand it was time to start shooting.
To create the images I used an off camera flash positioned at a 90 degree angle to the camera and shot against a black background. I placed the incense on a stool and let the smoke drift upward into the shot. I then did various things to disrupt the air and create the patterns. Capturing the smoke required a bit of experimenting with exposure. I ended up shooting stopped down to f/22 with a shutter speed of 1/250 (the fasted my 30D can shoot and still synch the flash). I had the camera on a tripod and used a remote release to trigger the shots. Since this procedure involved the use of more than two hands, I enlisted the help of my frequents assistants Missy and Sarah (my daughters).
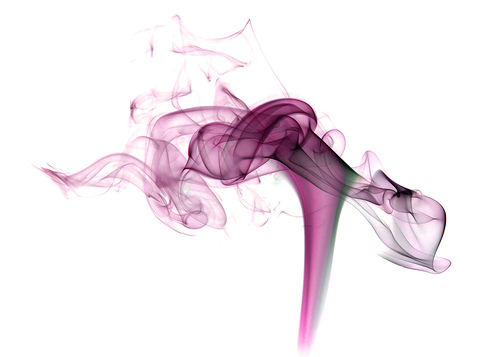
The only manipulation I did in Photoshop was to adjust the colour and a bit of cloning to clean up the edges. This particular shot was also inverted, causing the background to become white.
You can see some more examples of the shots on my Flickr account. Click here to view them.
LeggNet’s Digital Capture
© Rich Legg, Inc. All rights reserved.
January 27th, 2007 12:00 am | Comments Off on Purple Rose
January 26, 2007
]]> 
Labels: animal, bw
January 26th, 2007 12:00 am | Comments Off on
Bovine in Black & White
January 25, 2007
]]> 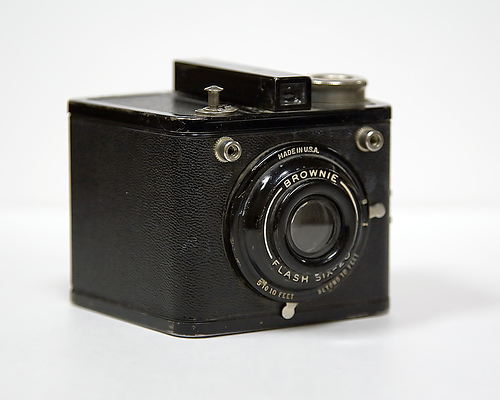
This capture is of one of the cameras, a Kodak Brownie Flash Six-20. My father received this as a graduation gift in 1950 from his grandparents. As a child, I was allowed to use this camera and I shot many rolls of film through it. It’s one of the first cameras that I remember using. Given the primitive camera and my inexperience, the resulting images were hideous. But y’know, I sure wish I had those photos today.
Labels: camera, photography
January 25th, 2007 12:00 am | Comments Off on
You’ve come a long way, Mr. Kodak
January 24, 2007
]]> 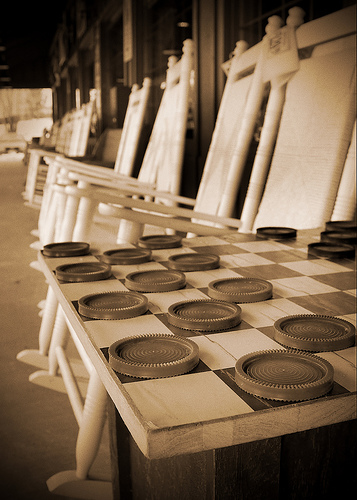
Labels: bw, sepia
January 24th, 2007 12:00 am | Comments Off on
Checkers on the Porch
January 23, 2007
]]> 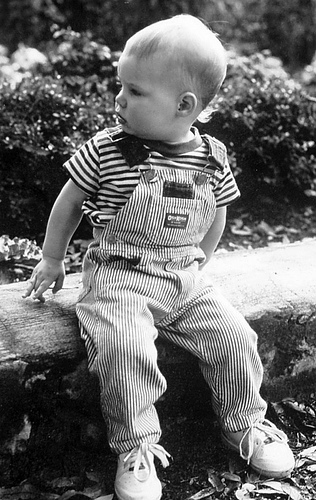
I made this capture of my son in the spring of 1989 as part of a portrait project in college. I have long since lost the negative of this special shot, so this is a scan of a print (partially explaining the tight crop of his foot). While I really enjoy the freedom I have with my digital camera equipment today, I occasionally miss the time spent in the darkroom working on shots such as this.
By the way, this little fellow is now a sophomore at Texas A&M University. Time sure flies.
Labels: bw, children
January 23rd, 2007 12:00 am | Comments Off on
San Antonio Park, 1989
January 23, 2007
While I was cleaning up some stuff today I came across a video I made a couple of years ago for a talk I gave at church. It doesn’t have anything to do with my photography, but I thought I’d share it anyway.
The video was shot at a local skate park to get the skaters’ opinions on life after death. The theme of the talk I gave was The Simplicity of Salvation and this was used as an introduction. Click below to view it.
January 23rd, 2007 12:00 am | Comments Off on
Life after this?
January 22, 2007
]]> 
January 22nd, 2007 12:00 am | Comments Off on
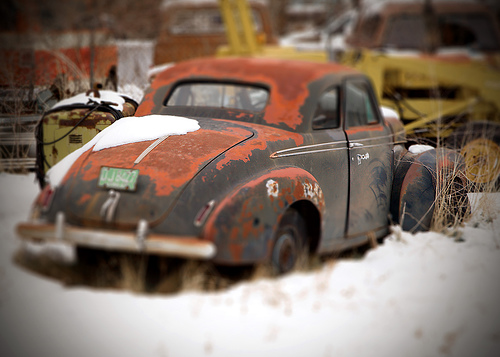
Restore Me, Please
January 21, 2007
]]> 
January 21st, 2007 12:00 am | Comments Off on
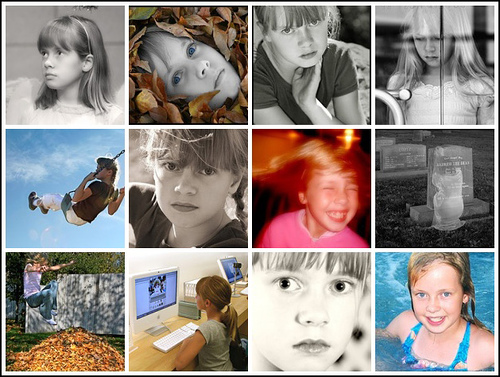
Happy Birthday ElisaRae
January 20, 2007
]]> 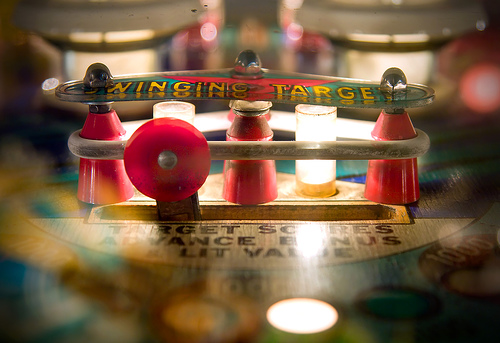
Ever since I was a young boy
I’ve played the silver ball
From Soho down to Brighton
I must have played them all
But I ain’t seen nothing like him
In any amusement hall
That deaf, dumb and blind kid
Sure plays a mean pinball
– Pete Townshend, 1969
January 20th, 2007 12:00 am | Comments Off on
Pinball Wizard
January 19, 2007
]]> 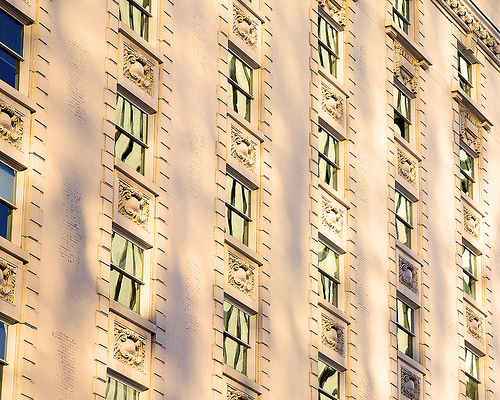
“This building was entirely in the shade of another building. All the light is a reflection off a glass building behind and to the right (of the camera). The sun is setting behind and to the left.”
Capturing the light as we saw it with our eyes was very difficult. The reflection appeared to be almost fluid-like on the side of the building pictured here. It was a pretty cool scene.
Labels: buildings, salt lake city
January 19th, 2007 12:00 am | Comments Off on
Reflective Sunset
January 18, 2007
January 18th, 2007 12:00 am | Comments Off on
Carefree
January 17, 2007
]]> 
January 17th, 2007 12:00 am | Comments Off on
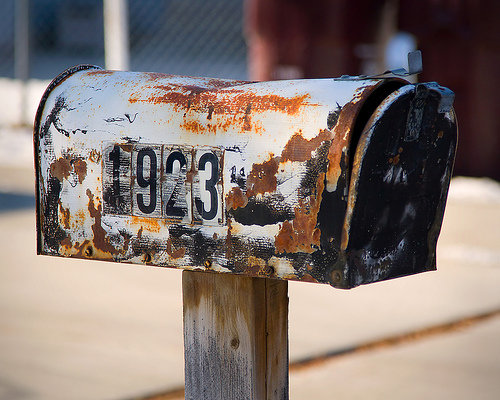
1923 Western Charm Drive
January 16, 2007
]]> 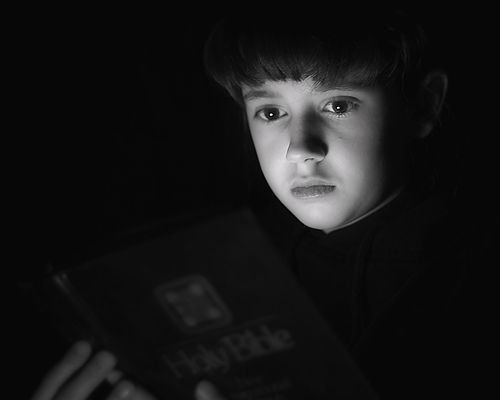
John 1:1 (NIV)
Tech Notes
To create the shot I positioned Sarah (dressed in black) on a stool in a completely dark room. The glow lighting her face was created by taping an iPod carefully to a page in the center of the bible. To add a subtle light to the exterior of the book, I placed another electronic device (this one a Gameboy) on a stool just below Sarah. The 3.2 second exposure was then tripped via remote release with the camera on a tripod.
Labels: bw, tutorial
January 16th, 2007 12:00 am | Comments Off on
and the Word was God
January 15, 2007
]]> 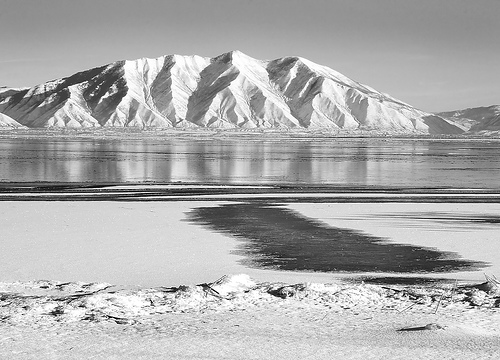
Your thoughts?
LeggNet’s Digital Capture
© Rich Legg, Inc. All rights reserved.
January 15th, 2007 12:00 am | Comments Off on Lakeside in Black & White
January 14, 2007
]]> 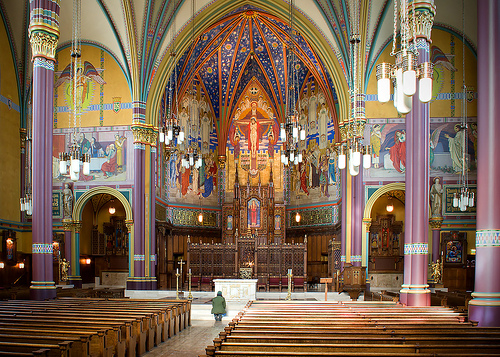
About the Cathedral
The Cathedral of the Madeleine is a Roman Catholic Church in Salt Lake City, Utah, United States. It was completed in 1909, and currently serves as the cathedral, or mother church, of the Diocese of Salt Lake City.
The cathedral was built under the direction of the Lawrence Scanlan, first bishop of Salt Lake. It was designed by architects Carl M. Newhausen and Bernard O. Mecklenburg. The outside is predominately a Neo-Romanesque design, while the inside tends more toward the Neo-Gothic. Construction began in 1900 and was completed in 1909. It was dedicated by James Cardinal Gibbons of Baltimore.
The interior of the cathedral was created under the direction of Joseph S. Glass, the second bishop of Salt Lake. Bishop Glass enlisted John Theodore Comes, one of the preeminant architects in the country, to decorate the interior of the cathedral. His plans for the interior were largely based upon the Spanish Gothic style. The colorful murals and polychrome were added at this time, as were the ornate shrines.
Between 1991 and 1993, the cathedral was renovated and restored under Bishop William K. Weigand. This included not only the removal of dust and dirt and restoration of the interior, but also changes to the liturgical elements of the cathedral to bring them into conformity with the reforms of the Second Vatican Council. This included building a new altar, moving the bishop’s chair, providing a separate chapel for the Blessed Sacrament, and adding a more ample baptismal font.
(source: Wikipedia)
January 14th, 2007 12:00 am | Comments Off on
Cathedral of the Madeleine
January 12, 2007
]]> 
January 12th, 2007 12:00 am | Comments Off on
What’s an 8-track, Dad?
January 11, 2007
]]> 
LeggNet’s Digital Capture
© Rich Legg, Inc. All rights reserved.
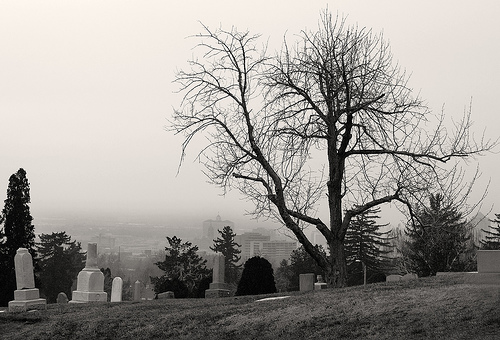
January 11th, 2007 12:00 am | Comments Off on Somber Hillside
January 10, 2007
]]> 
January 10th, 2007 12:00 am | Comments Off on
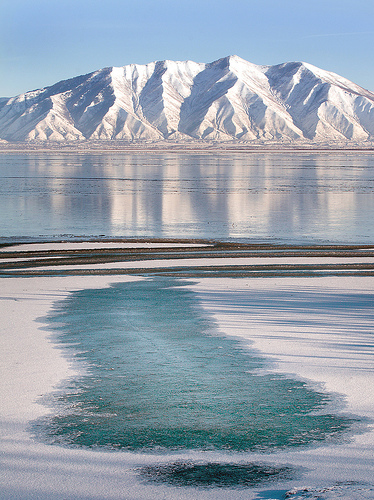
Frozen Lakeshore
January 9, 2007
]]> 
January 9th, 2007 12:00 am | Comments Off on
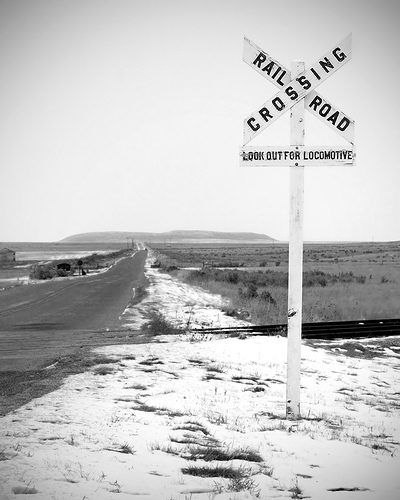
Crossing History


