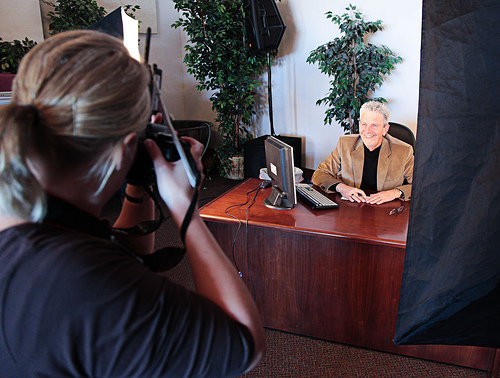
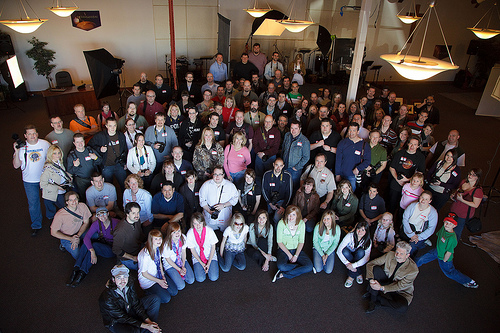
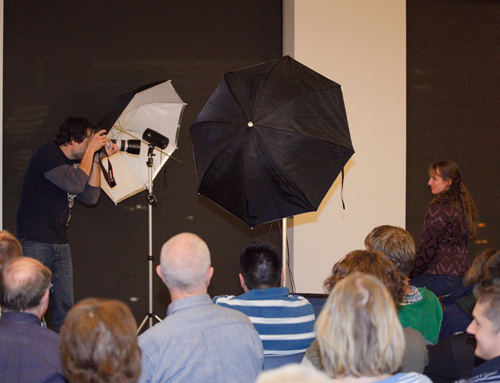
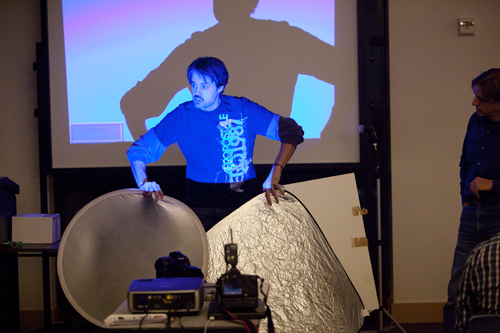
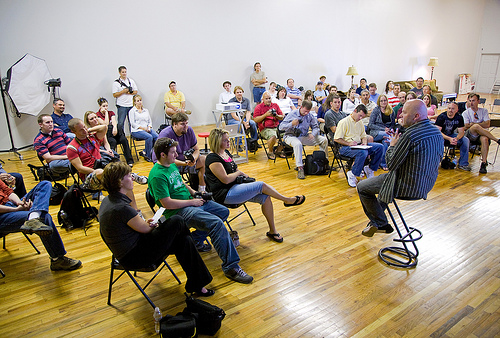
Last night’s Photowalking Utah mini-clinic at the Salt Lake City library was a great success. Even though the event didn’t feature any walking (unless you count the trek up to the 4th floor), it turned out to be our most attended event to date with 86 photographers participating. The theme of the clinic was “How to Get Great Studio Lighting Results for Under $250”. In the session I showed how to create nice studio portraits using some of the absolute lowest price lighting available.
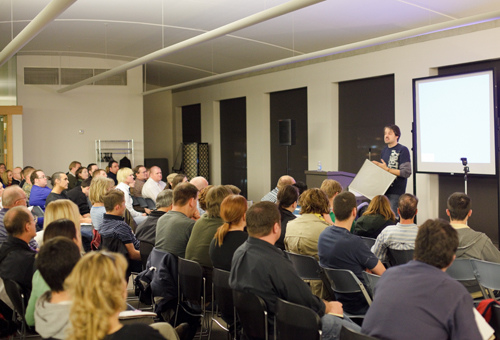
I really enjoy sharing my somewhat limited photography knowledge with others and doing this through the Photowalking Utah group has become a nice venue for teaching and learning. Even though the internet provides an abundance of free information for photographers to learn from, there is just something about getting several dozen like-minded folks together that increases the ability to share and learn.
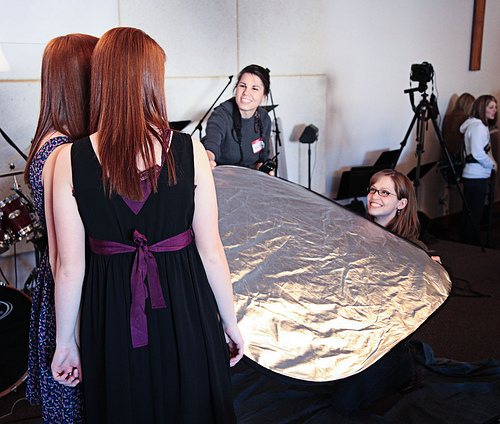
As a follow-up to the session, I want to take a few moments and share some of the simple setups I demoed along with some links to el-cheapo budget lighting equipment.

I began with a balanced two-light setup. This is my absolute least favorite setup and one that I rarely (if ever) use. This is the lighting arrangement that I was trained to use back in the eighties during my days as a school picture photographer (eek!).

After showing this setup, I made a quick change to the lighting arrangement to give a key-light with on-axis fill. Unlike the previous balanced setup, on this configuration I set the key light at 1.5 f/stops more powerful than the fill light. This is an extremely simple yet useful setup that I was taught by my friend Kenneth Linge. I use a variation of this quite frequently.

After these two initial setups, I showed several more ways to create different feels by moving the lights around. While all of the arrangements can be classified as rather simple, they can serve as a nice starting point for a photographer new to using off-camera studio lights.
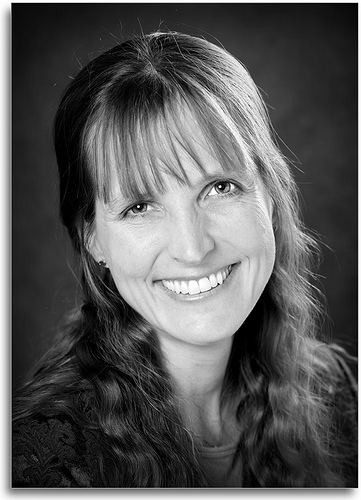
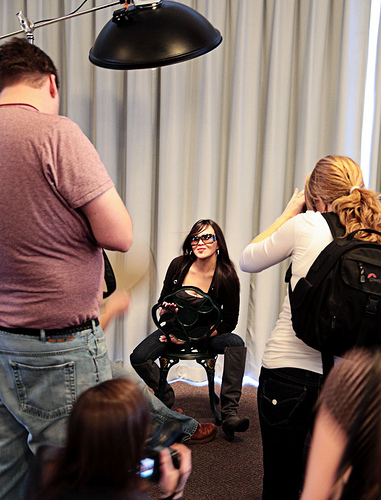
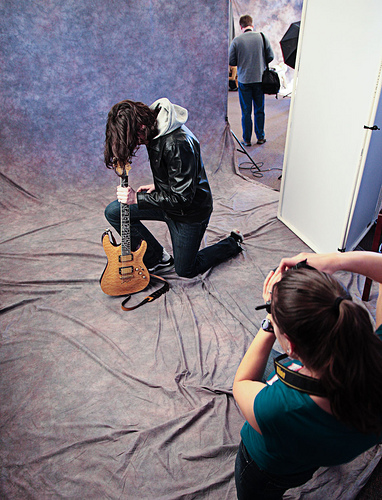
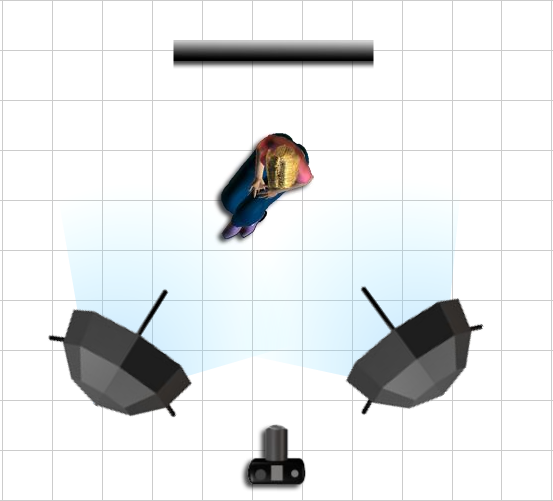
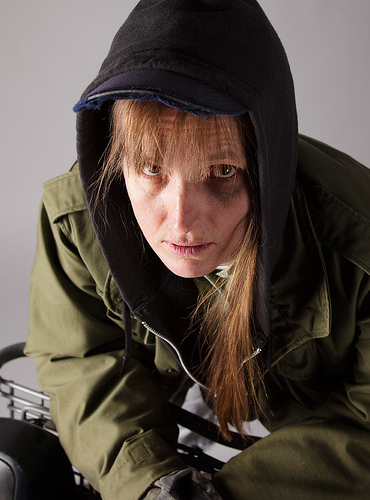
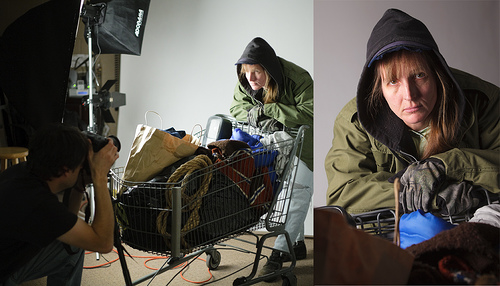
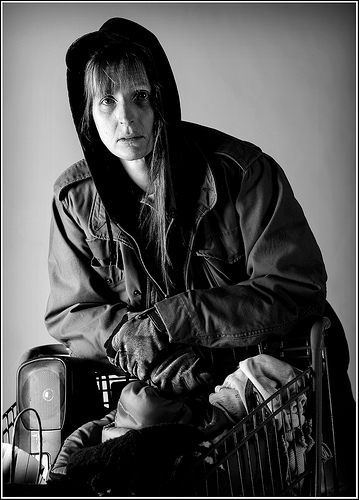
Here is a setup using a shoot-through umbrella for the key (or main) light and a small softbox for the hair light. The top image of Diane in today’s post was shot at the clinic using this arrangement.
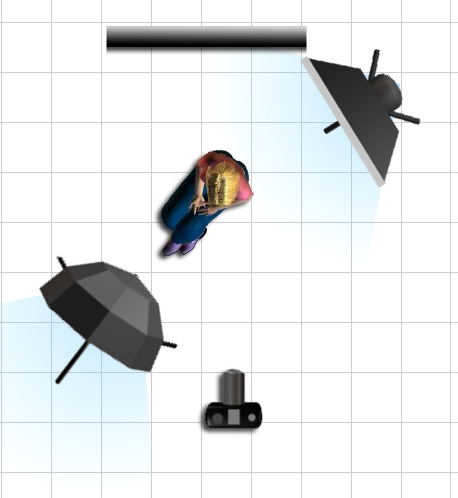
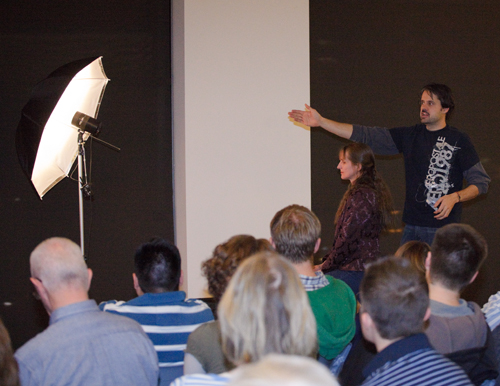
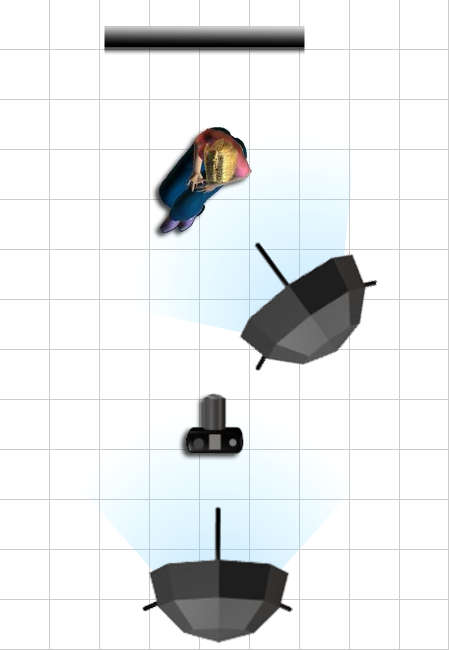
Another variation of the previous setup involved bringing in a reflector to add light to the darker side of the model’s face. Unlike the diagram below which shows a $50 reflector, in keeping with the budget theme of the night I used a $1 piece of white foam board.

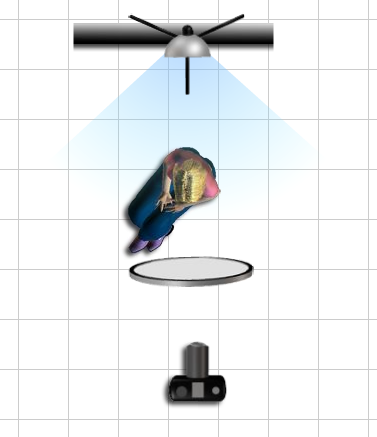
One of the last setups I demonstrated involved using a single light above and behind the model. I then used two of the $1 white boards taped together to create a V-Card held under the model’s face to reflect light back onto her face. This gave a nice rim-light combined with a very soft light on her face.

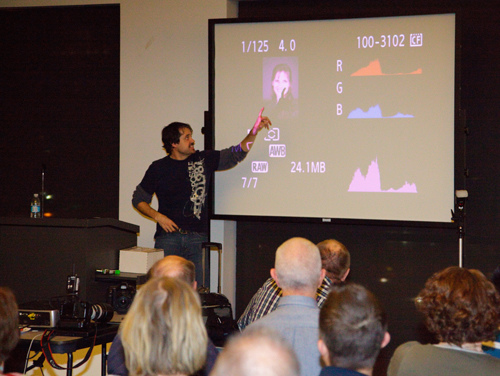
For the demonstration I used a pair of probably the cheapest mono-lights available – Adorama Budget 100 Studio Monolights. They can be picked up for around $50 each. LINK

I’m really thankful for having the opportunity to facilitate classes like this. If the turnout at last night’s event is any indication, I expect we will see a great turnout for tomorrow’s Studio Lighting Photowalk. It promises to be a lot of fun!
p.s. Big props go out to Diane for being such a patient model and not minding that my shots of her were scrutinized in front of everyone on the projector screen 🙂
LeggNet’s Digital Capture
© Rich Legg, Inc. All rights reserved.


