]]> 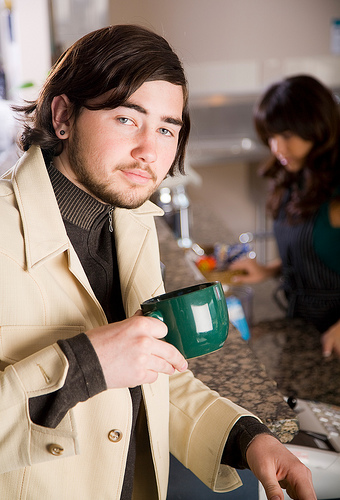
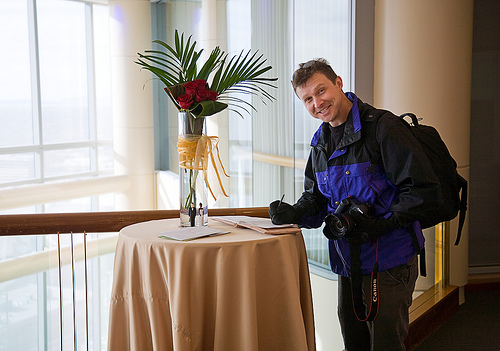
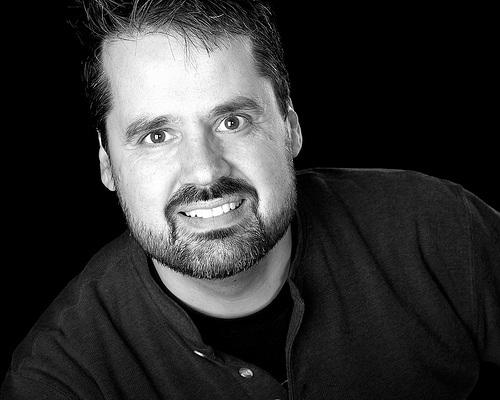
Model Andrew enjoying a fresh cup
On the shot above of Andrew, I used three lights. The main light was a large softbox positioned to camera right with a second softbox behind the model. A third light was used to light the background area.
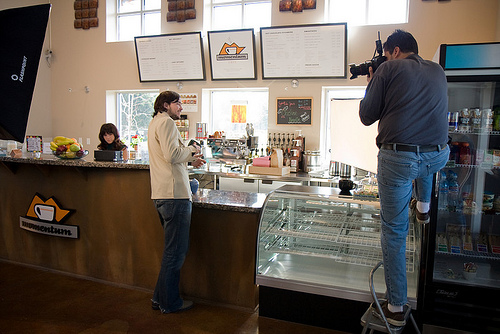
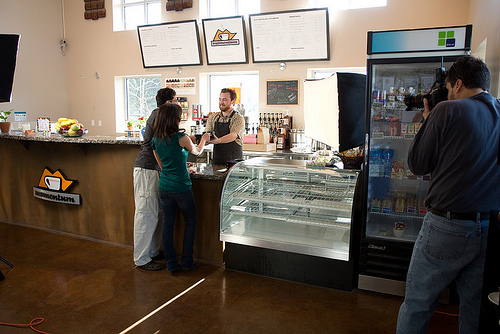
High angle shot of Andrew at the counter
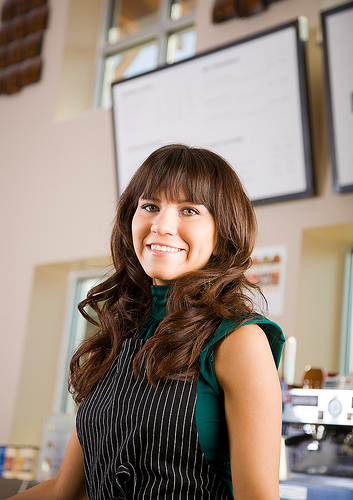
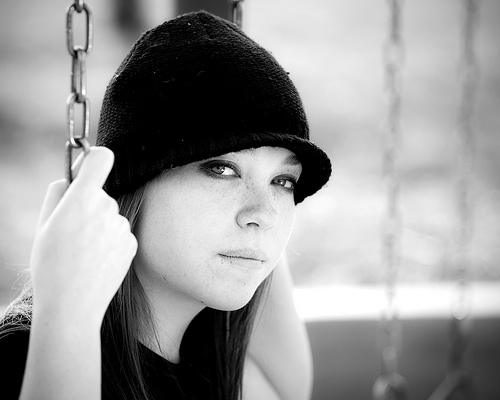
Model Kattie with the menu board
On this image of Kattie, I wanted to communicate ‘Cafe’, so I shot from a low view to include the large menu board in the top of the frame.
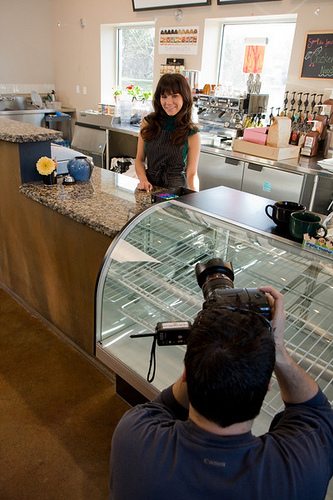
Low angle shot of Kattie with the menu board
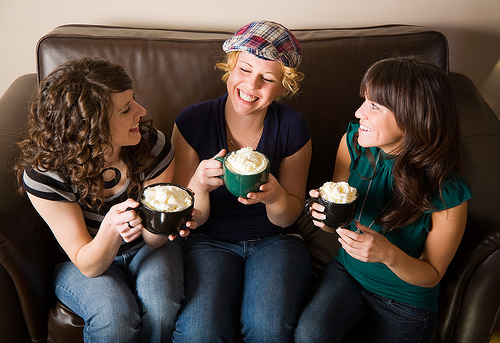
Models Julie, Jessica and Kattie on the couch
For the three ladies enjoying their beverages on the couch, I wanted a high vantage point with the girls looking up. I always carry a small stepladder on my shoots for this purpose. As can be seen in the shot below, the extremely slick floor necessitated the use of a ladder stabilizer – namely Josiah.
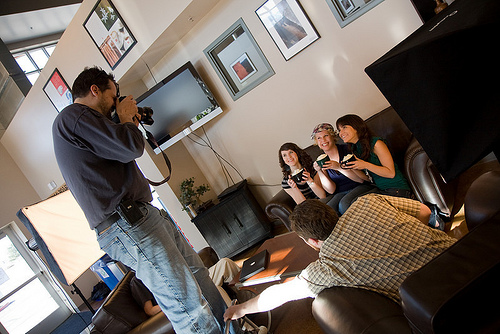
Josiah offering some stability to my stepladder
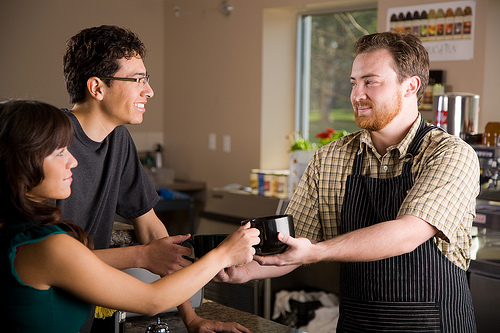
Models Kattie, Cerrick and Josiah at the counter
I used a couple of first-time models (at least for me) on this shoot. Both Josiah (right) and Kattie (left) in the above image did a great job. I look forward to working with them in the future.
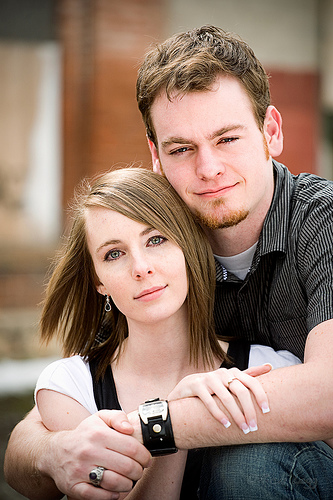
And lastly, it just wouldn’t be a shoot without Alyssa (below). I have photographed her more than any other model and we work well together. Here she is with another regular of mine, Andrew.
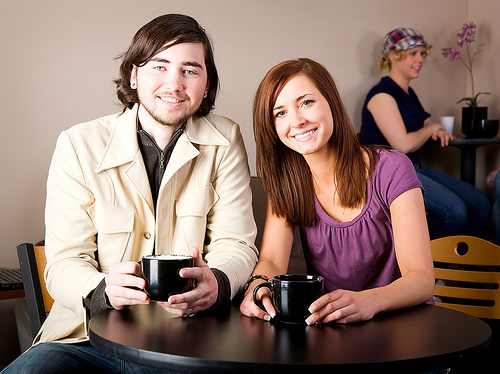
Frequent models Andrew and Alyssa
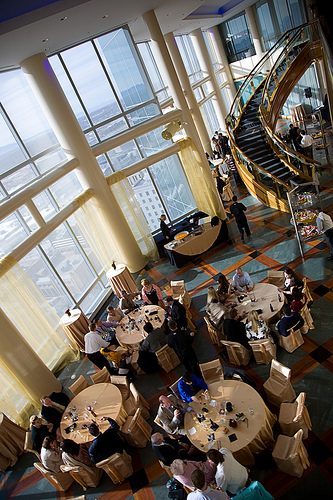
As you can see in the background, this cafe is located inside a climbing gym. Definitely an interesting location.
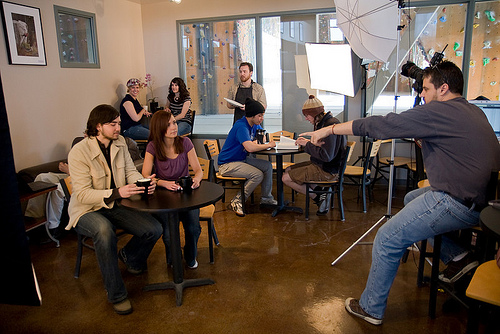
As always, I cannot do what I do without the help of others. Involved in this shoot were models Andrew, Alyssa, Cerrick, Jessica, Josiah, Julie and Kattie along with assistants Michelle and Erik. It is always great to get to shoot on location, and this shoot wouldn’t have been possible without the great folks at Momentum Climbing Gym and Cafe opening their doors for us.
Labels: stock