
March 11th, 2007
My Post Processing Technique
]]> 
I have received a couple of questions about my technique in processing images. To assist in showing how I do it, I thought I’d detail the steps I took in processing a photo such as the one posted yesterday. This photo was taken on the spur-of-the-moment when Michelle walked by. I was playing with a soft-box and asked her to stop and pose for the shot. I am self taught in all of my post-processing so I am sure that the ‘pros’ have better techniques, but this is what works for me.
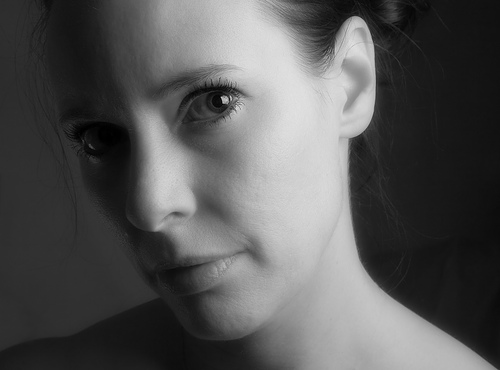
ORIGINAL IMAGE
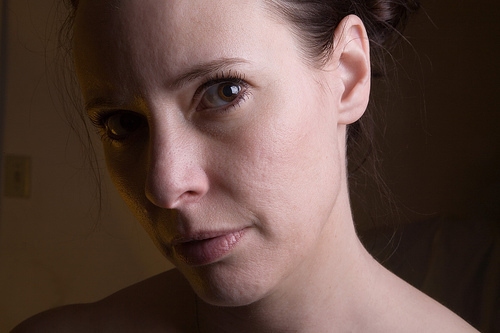
Here is the original image after doing the RAW conversion from the camera file:

STEP ONE
I use the CLONE tool to remove her necklace, earring holes, skin blemishes and background distractions.
STEP TWO
I apply noise reduction, slight sharpening (via Unsharp Mask) and crop the image.
STEP THREE
I create a new layer from the background layer. I apply 48 pixels of GAUSSIAN BLUR to the newly created layer. I blend the new layer at 35% and mask the eyes to keep them sharp.
STEP FOUR
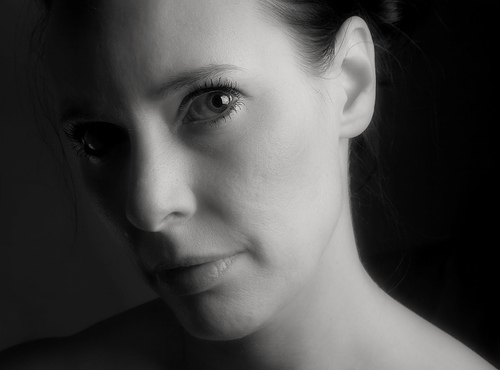
I create a CHANNEL MIXER layer and set to monochrome (70% red, 30% blue). Adjust brightness -5
STEP FIVE
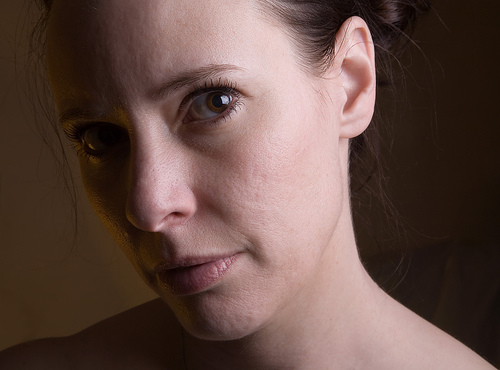
I merge my background layers, then create a duplicate of the background. I adjust brightness to -25 then mask out face (this darkens the background).
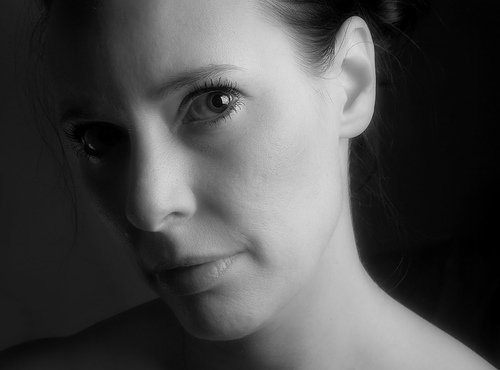
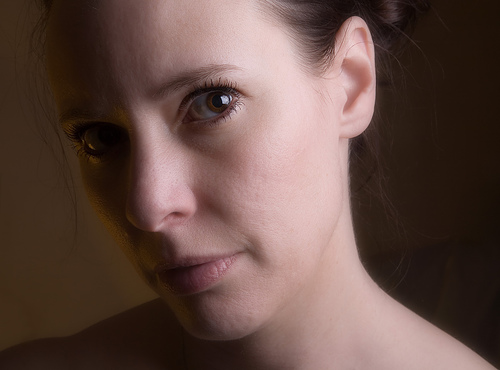
STEP SIX – COMPLETE
I merge the background layers then create a new copy of background. I apply 1.5 pixels of GAUSSIAN BLUR (smooth the skin more). I then mask out eyes to keep them sharp. Add photo filter (Sepia, 10%), Burn/dodge eye to make it more dramatic
As I said earlier, this is the process that works for me. I find as I continue to advance in post-processing that I am constantly finding new and improved techniques. If you’ve got some pointers, please don’t hesitate to share.
Canon 5D, Canon 24-105 f/4L – 1/125 second, f/22, ISO 100
LeggNet’s Digital Capture
© Rich Legg, Inc. All rights reserved.


