
March 19th, 2007
Creating a Cross-Processed look in Photoshop
]]> 
Sometimes an “Oops!” can give you an unexpected good result. This is the case with Cross Processing.
“What is this Cross Processing you speak of?” you ask. Simply put, it is the processing of film in chemicals that are not intended for the type of film being processed. An example is developing slide film (E-6) in chemicals intended for negative film (C-41), or vice versa. I can imagine the first photographer’s reaction upon discovering that he (or she) mistakenly created this process when looking at their developed film. The resulting effect that this gives an image can vary quite a bit but one common result is blown-out highlights and colors that just “aren’t right”.
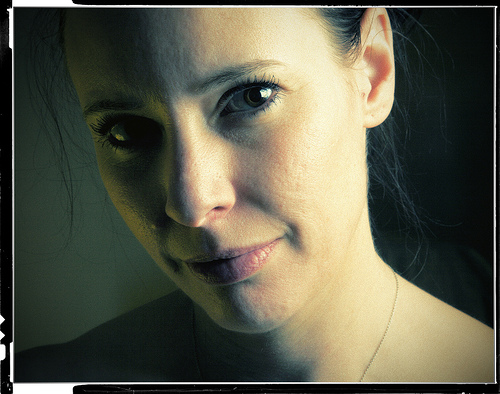
In seeking to create a cross-processed effect in Photoshop, it took a short trip to Google. The search resulted in a couple of tutorials on the subject. The easiest instruction set I found was located at PhotshopSupport.com. The tutorial there was easy to follow and included screen shots of the Photoshop steps. I created the image of Michelle in this post using their formula. Notice the yellow-green tint to the skin tone and the bright color of the lips. The effect can be a bit surreal.
Here is another example of the process on a similar shot. On this photo, I added a film border as recommended in the tutorial to add to the effect.
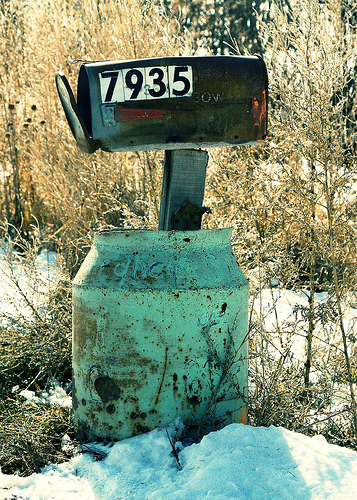
And finally, here is one more example applied to an image of an old mailbox.
If you have given Cross-Processing a try (either with film or digital), please share you results – I’d love to see them.
Cross Processing Info on the Web
On Wikipedia
PhotoshopSupport.com
The Wonders of Cross-Processing
Images 1 & 2: Canon 5D, Canon 24-105 f/4L IS lens – 1/125 second, f/22, ISO 50
Image 3: Canon 30D, Canon 24-105 f/4L IS lens – 1/320 second, f/9, ISO 100


